An AI Film Preproduction Workflow: From Script to Shot Plan
7/19/2026
AI filmmaking rewards preparation. The more decisions you make before generating shots, the less time you spend chasing inconsistent clips, unclear performances, and scenes that look impressive but do not tell the story.
Here is a practical preproduction workflow that uses Table Read Studio for the script and performance pass, then other tools for visuals, editing, and finishing.
1. Lock the scene intention
Before opening any video generator, define the scene in plain language:
- Who wants what?
- What changes by the end?
- What is the audience supposed to understand?
- What should the audience feel?
If those answers are vague, the visuals will be vague too.
2. Run a table read
Import the scene into Table Read Studio and cast the characters with AI voices. Listen once without stopping.
This first pass is not about perfect voice direction. It is about finding structural problems:
- The scene begins too early.
- Two characters sound like the same person.
- The dialogue explains the plot instead of creating pressure.
- The emotional turn happens too late.
- The scene runs longer than the idea can support.
Rewrite before you generate video. It is faster to fix a line than to rebuild a sequence.
3. Add acting directions
Once the scene works, use acting directions to test performance choices. A line can change meaning depending on whether it is played as "covering panic," "genuinely amused," or "trying to stay professional."
These directions are also useful when you move into visual prompting. If the audio performance changes at a beat, your shot prompt should reflect the same shift in body language, eye contact, or tension.
4. Create a beat sheet for shots
Turn the scene into a shot plan. Keep it simple:
- Beat
- Line range
- Shot size
- Character focus
- Emotional state
- Visual note
For example: "Maya realizes Ben lied, close on Maya, stillness, cool office light, she stops pretending to smile."
This gives you better prompts than asking for a generic cinematic scene.
5. Generate visual references
Use image tools such as Midjourney, Adobe Firefly, or Ideogram to explore character and environment references. Then use video tools such as Runway, Pika, Luma, or Kling to generate motion shots from your selected references.
Keep a small visual bible so every prompt uses the same names, wardrobe, setting, and style language.
6. Cut to the read
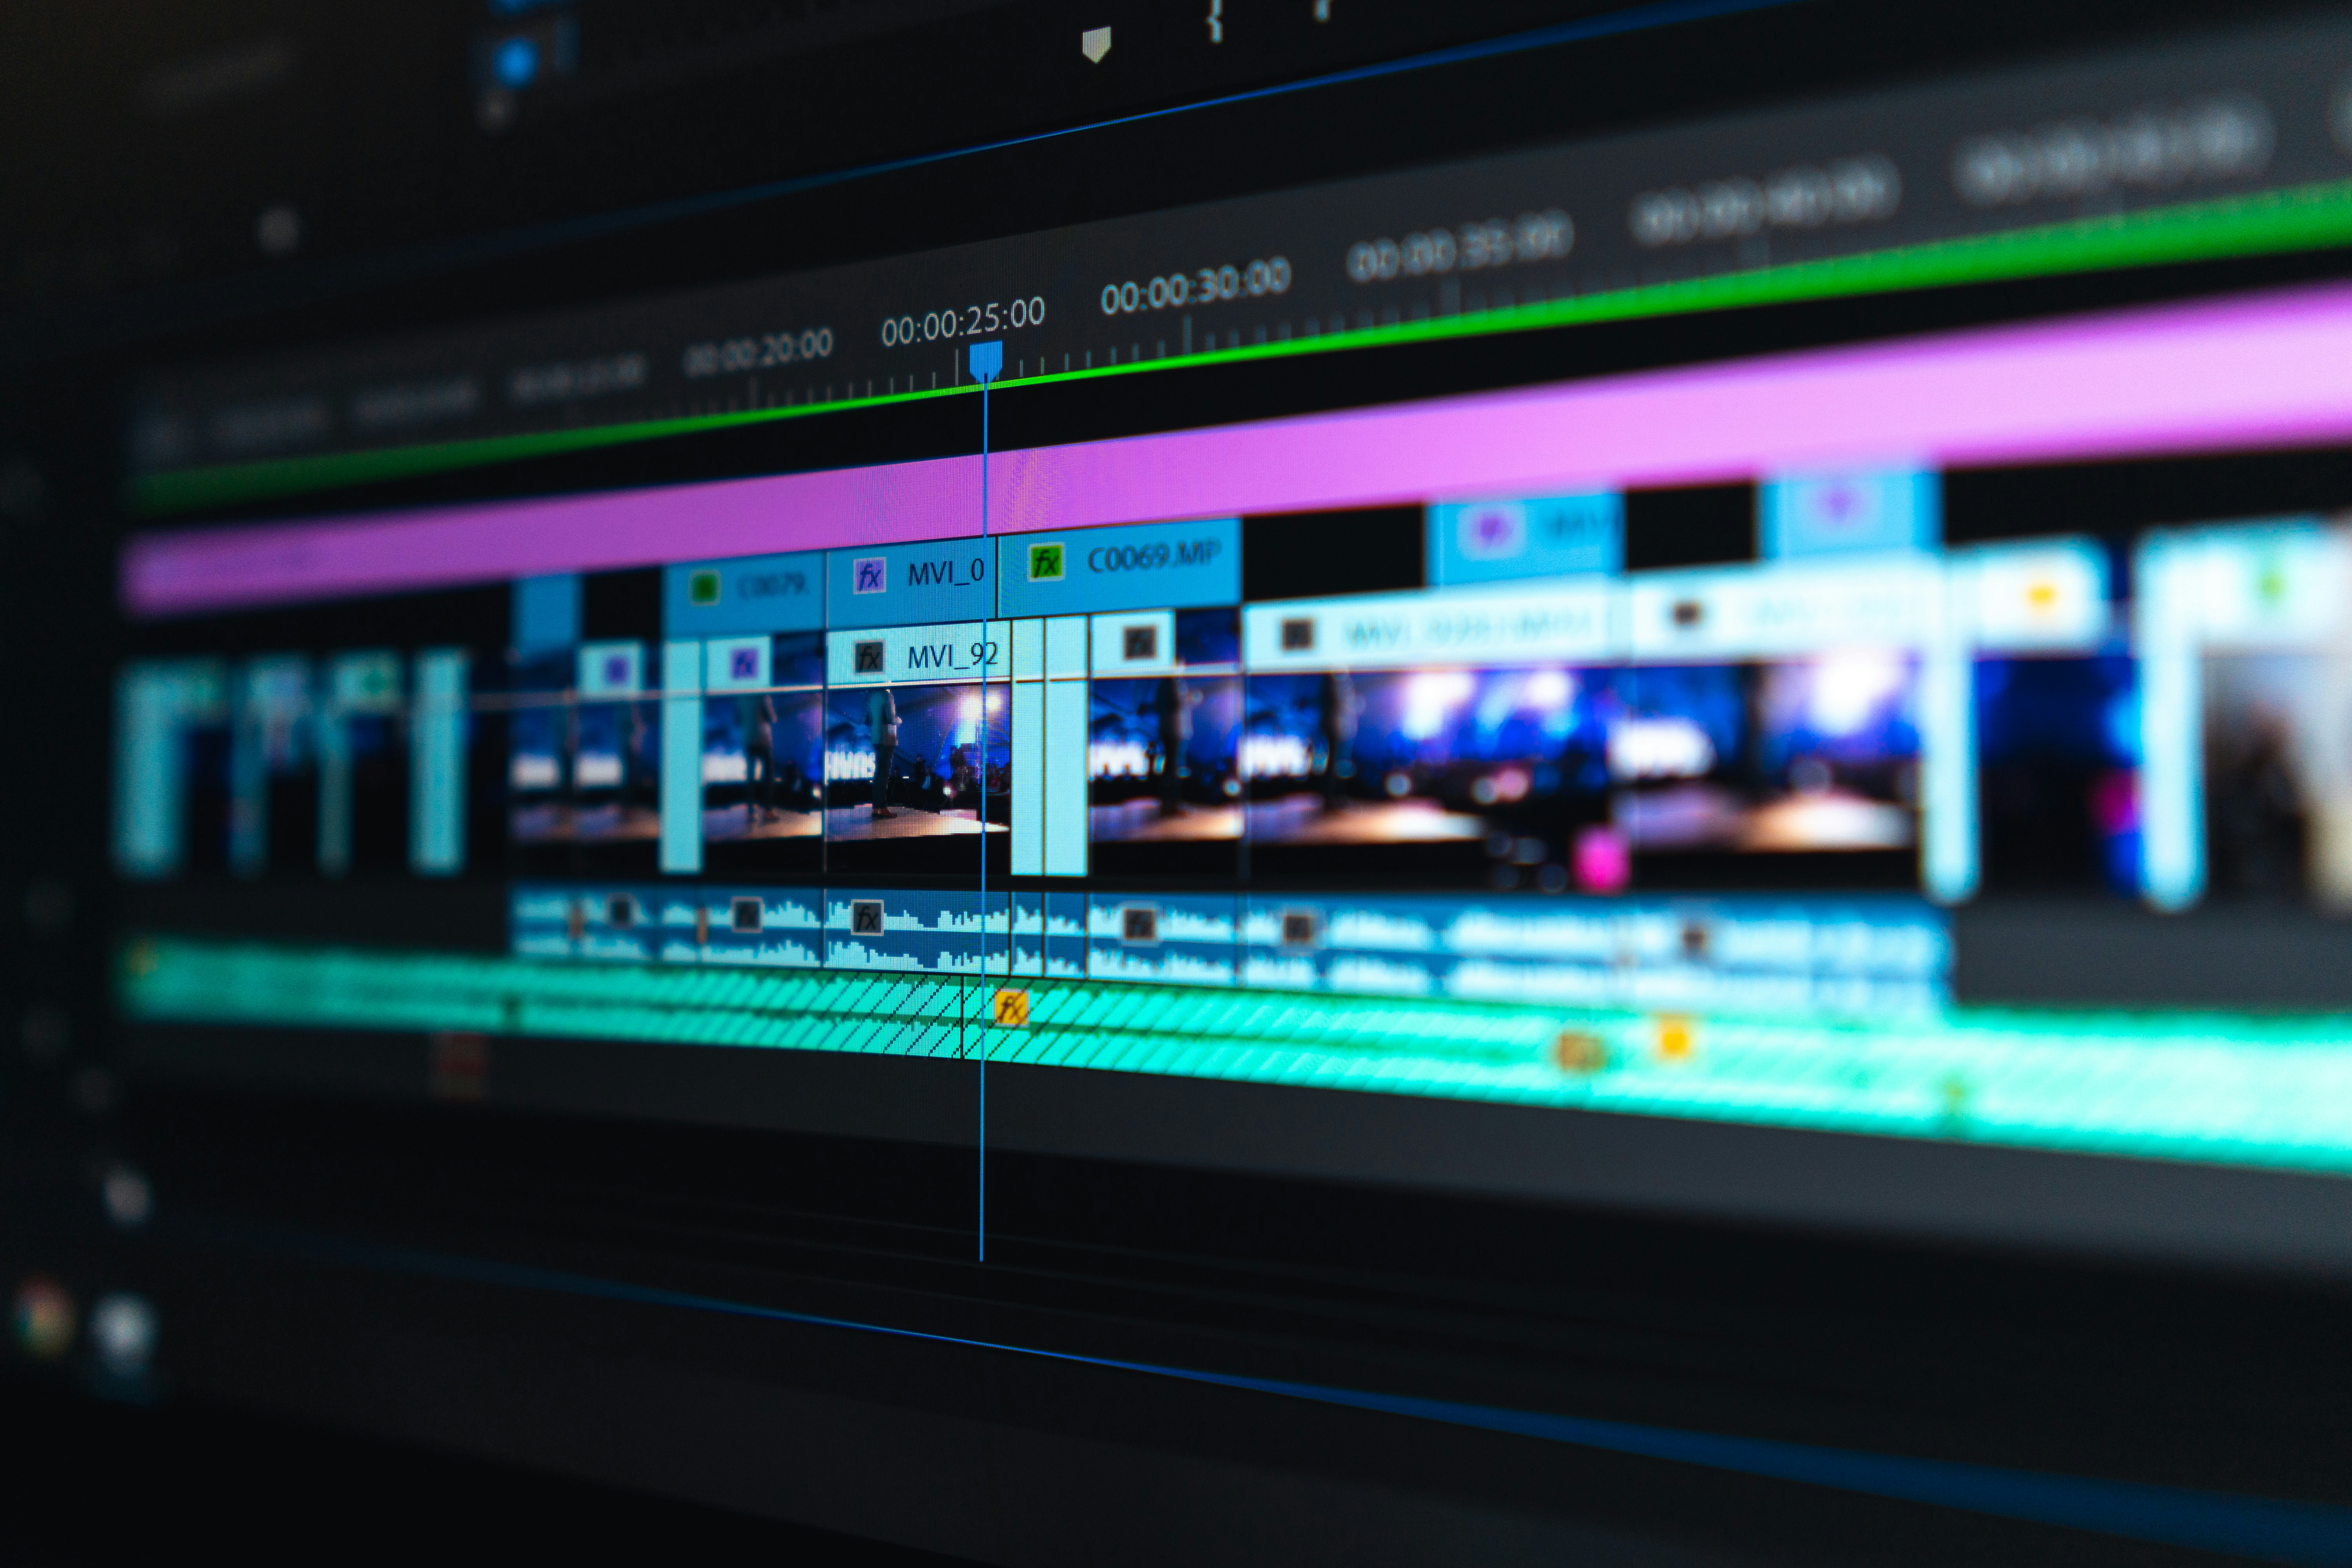
Bring the Table Read Studio audio into an editor such as DaVinci Resolve, Final Cut Pro, or Premiere Pro. Use it as a timing track while placing generated shots.
Even if the final film uses different voices or recorded actors, the read gives you a working rhythm. It helps you decide where the camera should stay, where a reaction matters, and where the edit needs silence.
7. Finish like a film, not a demo
A polished AI film needs the same finishing care as any short:
- Sound design
- Room tone
- Music restraint
- Color consistency
- Clean titles
- Proper file export
Table Read Studio is one part of the workflow, but it is an early part that affects everything after it. When the script and timing are stronger, the generated visuals have something solid to serve.